
How to Back Up Office PCs Automatically With Windows File History
A step-by-step guide to setting up Windows File History so your documents are backed up automatically to an external drive or network folder, and how to restore files when something goes wrong.

In this article
A deleted invoice folder, a corrupted spreadsheet, a laptop that refuses to start, or ransomware: every small business eventually faces a moment when it needs yesterday’s copy of a file. Windows has a free, built-in tool for exactly that, called File History. This guide is for small business owners, office administrators and everyday users who want automatic backups without buying extra software.
Key takeaways
- File History automatically saves copies of your libraries (Documents, Pictures, Videos, Music) and Desktop to an external drive or network location.
- It keeps multiple versions, so you can go back to how a file or folder looked earlier.
- Setup takes about ten minutes and is done from Control Panel.
- Restoring is done by right-clicking a folder and choosing Restore previous versions.
- Keep at least one backup disconnected or off-site so one incident cannot destroy both the PC and its backup.
What you need before you start
- A Windows PC with an administrator or standard account you sign in to daily.
- An external drive (USB flash drive or external hard drive) with more free space than the files you want to protect, or a network location such as a shared folder on a NAS or another PC.
- A few minutes when the PC is not busy, because the first backup copies everything.
Choosing the drive
For a single office PC, a dedicated external hard drive is the simplest choice. For several PCs, a shared folder on a small NAS lets everyone back up to one place. Label the drive clearly and do not use it for other things.
Step by step: turn on File History
- Connect the backup drive or make sure the network location is reachable.
- Open Control Panel (press the Windows key, type Control Panel and press Enter).
- Under System and Security, select Save backup copies of your files with File History.
- Select Turn on. Windows starts the first backup to the selected drive.
- If the wrong drive is selected, or none is, choose Select drive, pick your external drive or click to add a network location, then select OK. If asked, choose whether to move existing backups to the new drive or start fresh.
- Optionally open Advanced settings to choose how often copies are saved and how long saved versions are kept. More frequent saves protect more work but use more space.
Add folders that are not backed up yet
File History backs up libraries such as Documents, Pictures and Videos, plus the Desktop. If your business keeps files elsewhere, for example C:\Accounts, add that folder to a library:
- Open File Explorer and go to the folder.
- Right-click it and choose Show more options > Include in library.
- Pick an existing library such as Documents, or create a new one.
How to restore a file or folder
- Open File Explorer and go to the folder that contained the lost or damaged file.
- Right-click the folder and select Restore previous versions. For a folder at the top of a drive, right-click the drive itself.
- On the Previous Versions tab, choose a version from before the problem. If a file was deleted today, pick yesterday’s version of the folder.
- To check the contents first, expand Open and choose Open in File History.
- Select Restore to put it back, or expand Restore and choose Restore to… to save it in a different place without overwriting the current copy.
Important: Microsoft warns that restoring replaces the current version and the replacement cannot be undone. When in doubt, use Restore to….
For files inside a library, right-click the file or folder in its real location, not inside the library view.
Troubleshooting
- Drive not listed: reconnect it, make sure it appears in File Explorer, and try Select drive again.
- Backups stopped: File History needs the drive connected. If it was unplugged for days, reconnect it and let it catch up.
- Drive full: use a larger drive or shorten how long old versions are kept in Advanced settings.
- Network location fails: check that the shared folder is reachable and that your account has write permission.
- Still on Windows 10: File History works there too, but Windows 10 support ended on 14 October 2025, so plan a move to Windows 11 for security updates.
Make your backups ransomware-resistant
A drive that is always plugged in can be encrypted along with the PC. A sensible routine for small offices:
- Use two drives and swap them weekly, keeping one away from the office.
- Or keep the network backup on a device whose share is not open to every user.
- Test a restore once a month so you know backups actually work.
- Remember power: frequent outages and surges damage drives, so connect backup drives through a surge protector or UPS.
Checklist
- Backup drive or network share chosen and labelled
- File History turned on and first backup completed
- Business folders outside Documents added to a library
- Backup frequency and retention set in Advanced settings
- Second offline copy arranged
- Test restore done and date written down
Sources
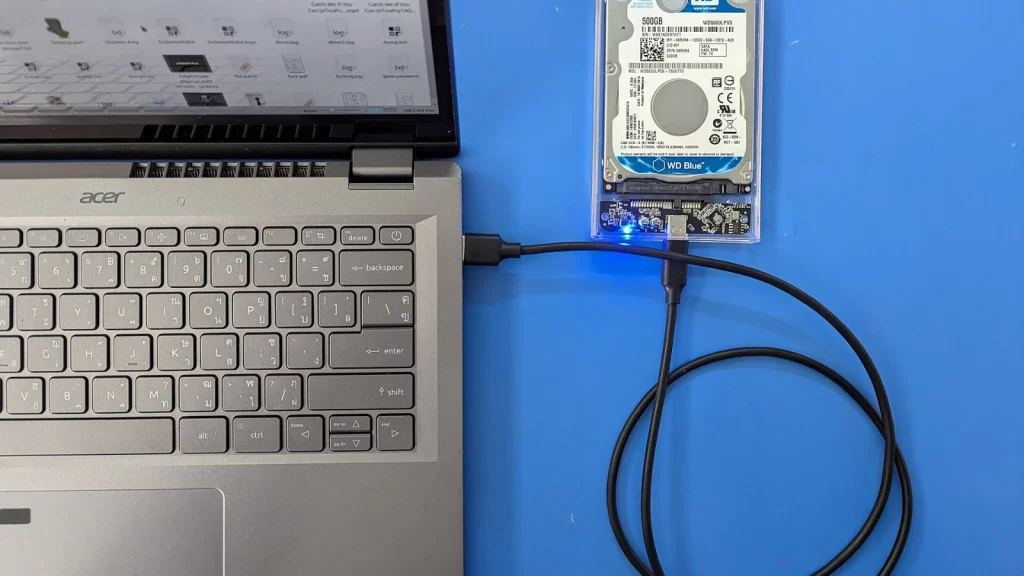
Featured image: Photo: “WD Blue Hard Disk Drive connected to Laptop via USB-C” by Augkun-ane, CC BY 4.0, via Wikimedia Commons — source
Was this article helpful?

adminVerified expert
Cybersecurity Analyst
Federal Capital Territory (Abuja)
Credentials: MCPN, MNCS, IAENG | System Analyst · Web Developer · CEH · CC · CDST
Got expertise to share? Write for us →